Children's Nature Circle: Nature Play Activities for Fall
Make Seed Bombs
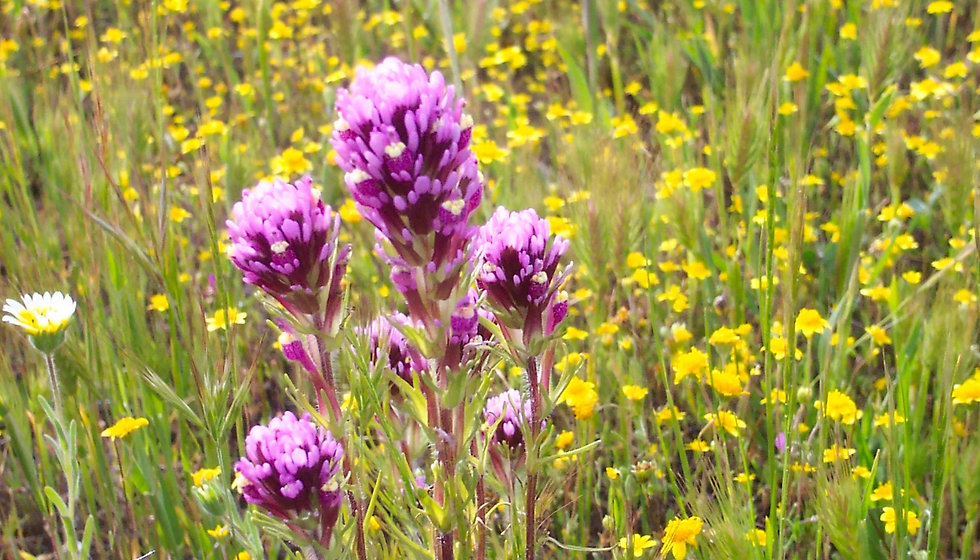
Planting native plants is one of the best things you can do for local ecosystems. If you support the insects (such as the bees, moths, and butterflies) that need native plants, then you are supporting the whole food web that depends on these insects.
You can really connect the cycle for children by collecting seeds from wildflowers you find outside together, such as the California Poppy, commonly found along sidewalks. Or you can purchase native wildflower seed packets for about $4-10 from a local nursery, like Sloat, or online (Larner Seeds is one example). You only need a small amount of seeds for this activity, and you can use the rest of a packet to make a lovely seasonal wildflower garden in your planter or nearby sidewalk patch!
"Seed bombs" are little clay balls with seeds tucked inside them. The clay protects the seeds from being eaten up by birds right away, and then it melts with the rain and allows the seeds to reach the ground and sprout. This is a fun activity because children not only get to play with clay, but also get to throw the “seed bombs” when they're finished! The fall is a good time to spread seeds, because the winter rains will help them sprout.
Native seeds
Clay
Mix your native wildflower seeds with some sand, about 2:1 ratio sand to seeds. This helps distribute the seeds properly, because you only need a few and the seeds are so small.
Roll a small ball with the clay, about the size of a grape. Then poke a little hole in the ball to make a cozy bed for the seeds.
Sprinkle in a small pinch of seeds.
Pinch the clay around the seeds, and roll back into a ball shape with the seeds on the inside.
Allow to dry. You can spread them out on a tray, or put them in an empty egg carton to protect them.
Toss them on a patch of bare ground or in a garden bed. Check back after the rainy season has come. Have they sprouted?
Did you know that some seeds need the cold weeks of winter in order to sprout? The changes in temperature help crack the shell open, so the seed can germinate.

Leaf Cutting Tray
Even in the mild climate of the San Francisco Bay, most deciduous trees turn colors and drop their leaves seasonally. They stop producing chlorophyll when the Autumn days grow shorter, and so their leaves turn brown, yellow, red, or even pink.
In this simple activity, children can collect leaves, explore leaf shapes and colors, and practice motor skills for cutting. This is also a good opportunity to use vocabulary that names differences in size, shape, and color.
Leaves (various shapes and sizes and colors)
Scissors
Optional:
Tray
Plastic sewing needle and thread
Hole puncher
Go on a walk around the block or in a nearby park and collect any leaves that you find interesting.
Offer the leaves with scissors, on a tray if it's helpful, and allow children to practice cutting the leaves.
Tip: You can also offer plastic sewing needles and thread if they are a bit older, so they can work on stringing and sewing leaves. Hole punchers are interesting for cutting shapes out of the leaves, and also help strengthen hands.

Pom-Pom Tarantulas

Did you know that tarantulas live in the Bay Area? You can find Bay Area Blonde Tarantulas (Aphonopelma smithi) if you hike Mt. Diablo, or at Black Diamond Mines. October is a popular time to go on tarantula viewing hikes, because the males travel out of their burrows to find mates, and can be seen wandering even in the daytime. Often misunderstood as scary and dangerous, tarantulas are quite harmless to humans, and play an important role in their ecosystem. They’re sometimes called the “gentle giants” of spiders. Here's some information about Bay Area tarantulas from the East Bay Regional Parks District.
You can make these tarantulas with children, to use in silly spider songs, to include in an autumn or Halloween display, and to show that we need not be afraid of these big fuzzy critters. Just remember, you can’t use them for the Itsy Bitsy spider song, because they don’t spin webs! Try this silly song instead.
Large pom poms (you can use brown or black to be realistic, or any color just for fun)
Pipe cleaners (here are some brown and tan ones)
Choose a large pom pom and 4 pipe cleaners.
Twist each pipe cleaner around the pompom so it stays attached, and is about the same length on both sides. This should make 8 legs.
If you like, you can use marker, paint, or googly eyes to add eyes!
Tip: Fold the tip of each leg to make a little foot, and to keep the pointed end of the pipe cleaner from poking anyone.
Spider Web Stick Weaving

Hundreds of species of spiders in the Bay Area DO spin webs! Nearly all of them are completely harmless to humans, and play a critical role in reducing the number of pest insects like flies and mosquitos.
Even very young children can help with this spider and web. They can collect sticks on your next nature walk, or from your outdoor area. They can try wrapping the string around the sticks independently (remember, it’s the process not the product). They may also enjoy breaking small twigs and sticking them into clay or salt dough just for the sake of it, or to make spiders for the webs. These make lovely decorations for the classroom, or to be used in free play once the clay is dry.
Sticks of various sizes
String or yarn in cut pieces (try between 12-20 inches)
Air dry clay or salt dough
Stick Web
First, tie a piece of string to one stick, near the center, using a simple knot.
Next, take 2 more sticks and cross all 3 over one another in the middle, so they fan out like spokes on a wheel.
Now take the string from where it is tied to one stick in the center of the wheel, and begin to wrap it around each stick at the center, tightly. Tie it off using a simple knot. You should now have sticks secure together, and a length of string to weave around them.
Experiment with how to weave the string, perhaps tying around sticks as you go. Think of a spider’s work making a web, and how intricate they are!
Stick Spider
Provide dough or clay and smaller twigs to children.
You can demonstrate how to roll it into a ball, and then stick a twig into the clay to make a leg.
This can be a totally open ended project, where children will explore the way twigs can stick into the clay, and how much pressure to use. Or, if they have interest, you can add 8 legs total to make it a spider, to go in the web.

Scoop Pumpkins, Make a Jack o' Lantern

Forget painting a pumpkin, the good stuff is inside! Some kids will love touching the slimy seeds, while others will be cautious. You can offer spoons for those who don't want to touch them with hands. Everyone enjoys seeing the pumpkin lit up in the end.
Pumpkin seeds make great open ended materials if you have the patience to clean and dry them. Use them to count, or for a sensory bin. Or let children add the seeds and slime to a mud kitchen setup, and make a gooey, wonderfully yucky pumpkin soup.
Pumpkin
Spoons for scraping
Bowl for collecting goop and seeds
Plastic table cloth, drop cloth, or paper bags
If making a Jack o' Lantern:
Knife or pumpkin carving saw tool
1 LED candle
Cut a hole around the top of the pumpkin, around the stem. Remove the top. If you do this away from the children, bring the pumpkin over with its top still on, so they can be surprised when you open it up to show the insides.
Put a tablecloth down if you are using a table, or spread out a drop cloth or paper bags on the ground to make cleanup easy.
Offer spoons and bowls to scoop and collect the insides, then reach down inside with spoons or hands to scoop out the gooey seeds inside! It takes some strong scraping to remove them all.
To make the Jack o' Lantern:
When the seeds are removed, use a knife or pumpkin carver to cut a simple face into the pumpkin.
Put a candle inside!

Two Jack o' Lanterns sit glowing on a stoop. One is carved with a simple face, and one is a picture of a raccoon.

Comments